Roof mount solar attic fan brackets are specialized mounting hardware that securely attach solar-powered ventilation fans to your roof structure. These brackets typically cost between $15-45 per set and provide stable positioning for optimal airflow and solar panel alignment. Most homeowners can install them using basic tools like a drill, level, and weatherproof sealant. The brackets come in fixed, adjustable, and universal designs to accommodate different roof types and fan models. Proper bracket installation ensures reliable solar attic fan performance and prevents weather-related damage or fan displacement during high winds.
What Are Roof Mount Solar Attic Fan Brackets
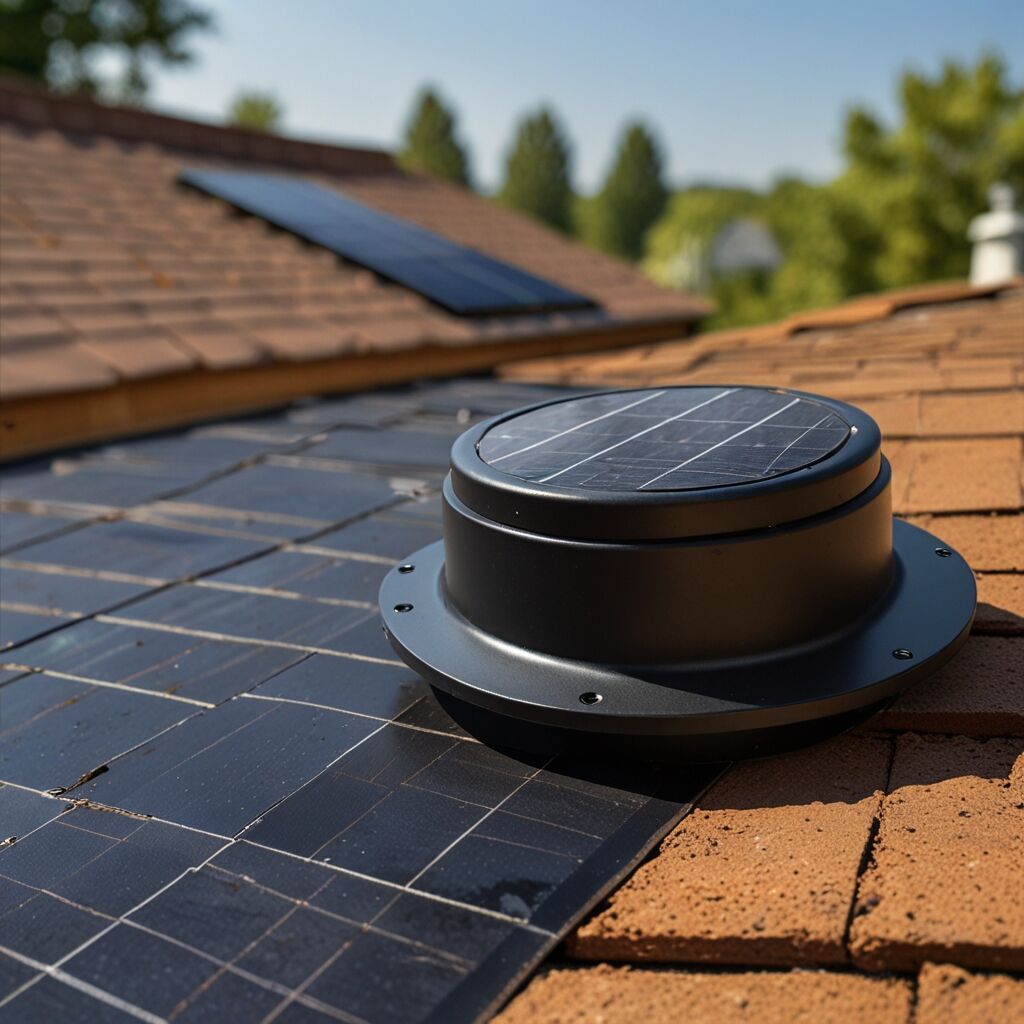
Roof mount solar attic fan brackets are essential hardware components designed to secure solar attic fans directly to roof surfaces. These mounting systems consist of weather-resistant brackets, typically made from galvanized steel or aluminum, that create a stable foundation for fan operation. The brackets work by distributing the fan’s weight across multiple roof attachment points, preventing stress concentration that could damage roofing materials. Most bracket systems include rubber gaskets and flashing to create weatherproof seals around mounting holes.
Different Types of Mounting Bracket Systems
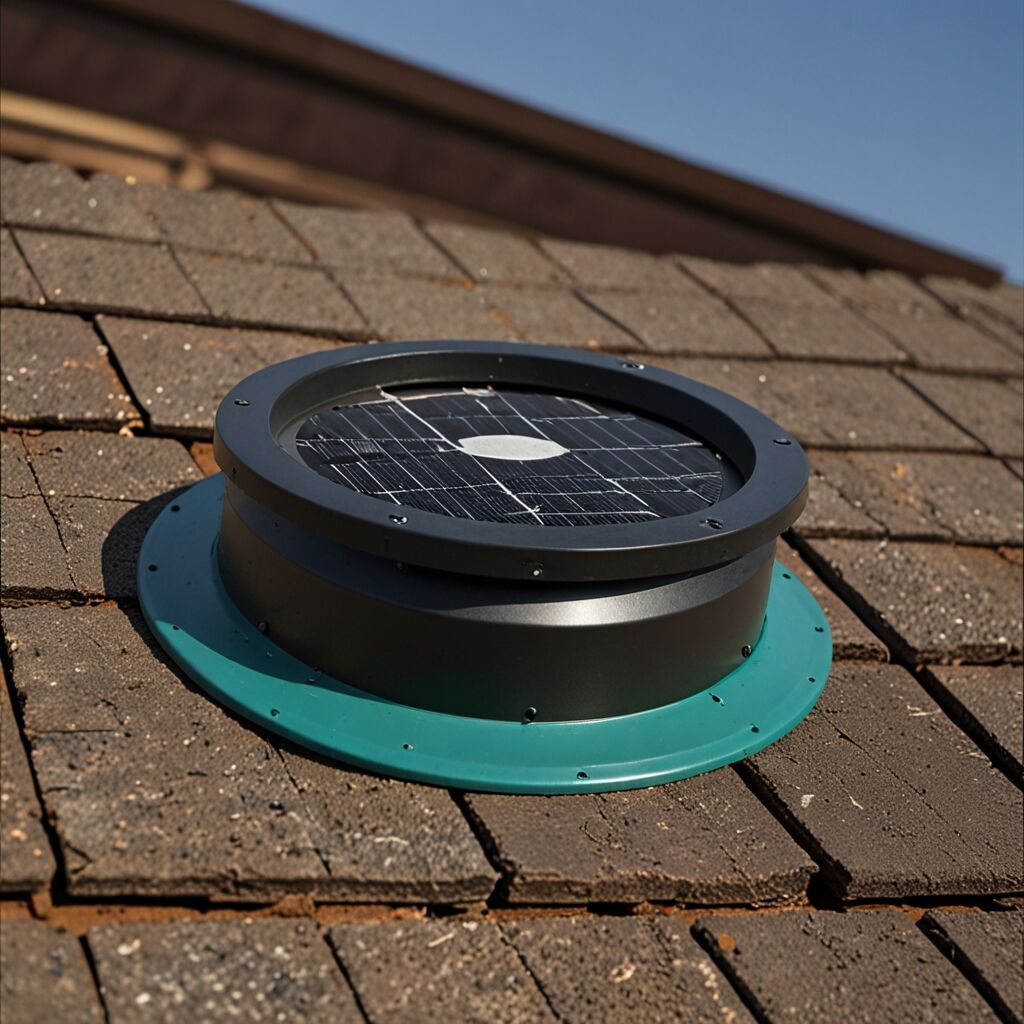
Fixed brackets provide the most economical solution for standard roof installations, typically costing $15-25 per set. These work best on roofs with consistent 30-45 degree slopes where fan positioning doesn’t require adjustment. Adjustable brackets, ranging from $25-35, offer tilt and rotation capabilities for optimizing solar panel alignment throughout the day. Universal brackets represent the premium option at $35-45, accommodating multiple fan brands and sizes while providing maximum installation flexibility. Each bracket type features corrosion-resistant coatings designed to withstand decades of weather exposure.
How Roof Mount Solar Attic Fan Brackets Function
Roof mount solar attic fan brackets function by creating a secure connection between the fan assembly and roof structure while maintaining proper ventilation angles. The brackets work through a multi-point attachment system that typically uses 6-8 lag screws driven into roof rafters or trusses. This distributed mounting approach prevents the concentrated stress that could cause roof damage or fan instability. The bracket design also elevates the fan base slightly above the roof surface, allowing proper airflow underneath and preventing water pooling around the installation.
Installation Requirements and Structural Considerations
Successful bracket installation requires locating and securing to structural roof members rather than just sheathing material. Most installations need brackets spaced 16-24 inches apart to properly support fan weight and wind loads. The mounting process involves creating pilot holes, applying roofing sealant, and torquing fasteners to manufacturer specifications, typically 25-35 foot-pounds. Professional installations usually take 2-3 hours per fan, while DIY installations may require 4-6 hours for first-time installers. The brackets must align with the fan’s mounting pattern while maintaining level positioning for optimal operation.
Benefits of Using Quality Roof Mount Brackets
Quality roof mount brackets provide several critical advantages for solar attic fan systems. They ensure consistent fan positioning that maximizes solar panel exposure and ventilation effectiveness throughout changing sun angles. Properly installed brackets prevent fan movement during storms, which could damage both the fan motor and roof surface. The brackets also create proper clearance for airflow beneath the fan, improving ventilation efficiency by up to 15-20% compared to flush-mounted installations.
Long-term Performance and Cost Benefits
Investing in quality brackets typically saves money over time by preventing premature fan replacement and roof repairs. Well-designed brackets distribute loads properly, extending both fan life and roof integrity. Many homeowners report 15-25 year service life from properly bracketed fans compared to 8-12 years for poorly mounted units. The improved stability also reduces vibration-related noise that commonly develops in inadequately supported installations. Quality brackets often include warranties ranging from 5-15 years, providing additional peace of mind for the investment.
Key Performance Metrics for Solar Attic Ventilation
- Properly mounted fans can reduce attic temperatures by 20-30 degrees Fahrenheit
- Quality brackets extend fan lifespan by approximately 40-60% through reduced vibration
- Installation costs typically range from $300-700 including brackets and labor
- Most bracket systems accommodate fan weights between 15-35 pounds
- Wind resistance ratings typically range from 80-120 mph for quality brackets
- Energy savings of 10-15% on cooling costs are common in hot climates
- Professional installation reduces warranty claim rates by approximately 65%
When to Install Solar Attic Fan Brackets
The optimal timing for bracket installation occurs during mild weather conditions with temperatures between 50-80°F and minimal wind. These conditions allow sealants to cure properly and provide safer working conditions on the roof. Spring and fall typically offer the best installation windows, avoiding both extreme summer heat and winter ice hazards. Installation should occur when attic temperatures consistently exceed 100°F or when cooling bills increase significantly during summer months.
Signs That Indicate Installation is Necessary
Several indicators suggest the need for improved attic ventilation through solar fan installation. Attic temperatures exceeding 120°F indicate inadequate ventilation that solar fans can address. Ice dam formation during winter months often results from poor attic ventilation that allows heat buildup. Rising energy bills during cooling season, particularly increases above 20-30%, may indicate ventilation deficiencies. Moisture problems in the attic, including condensation or mold growth, frequently require enhanced ventilation solutions that solar fans provide.
Optimal Placement for Maximum Efficiency
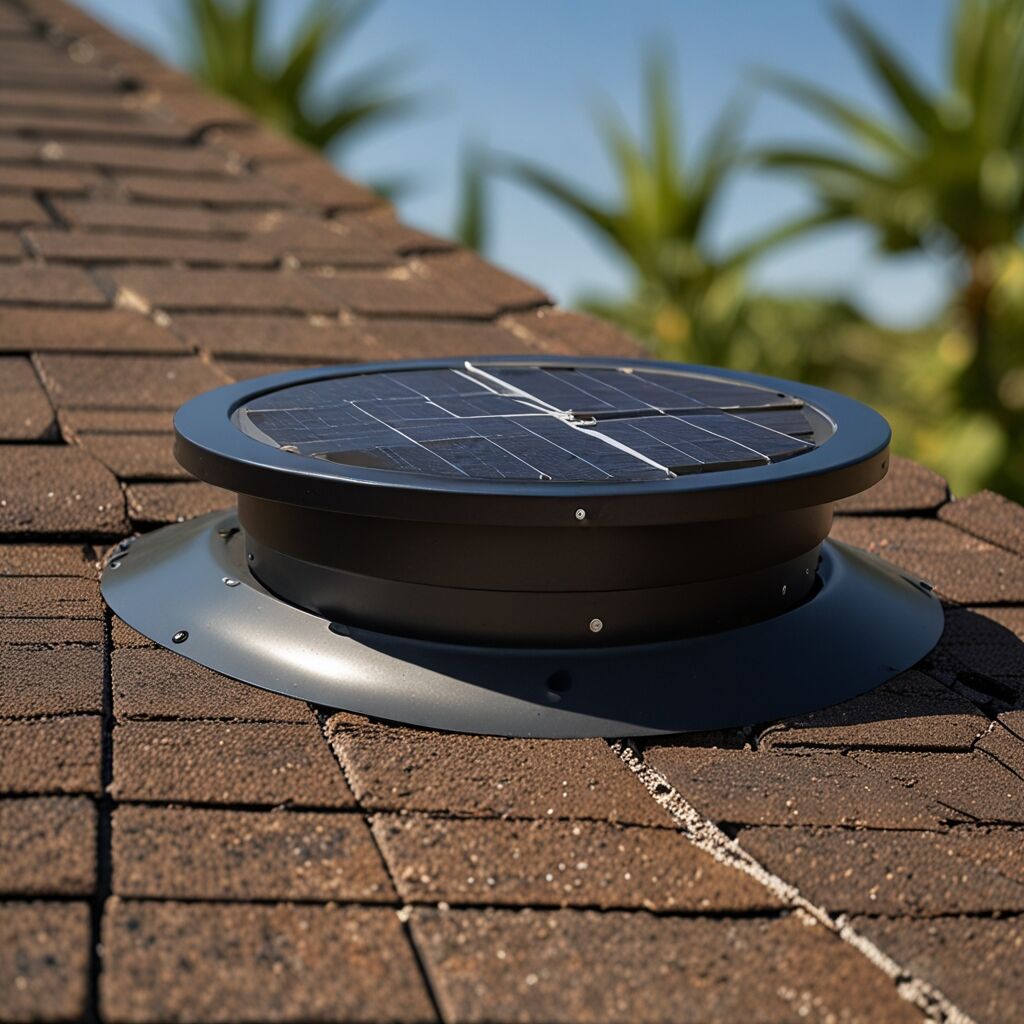
The most effective bracket placement positions solar attic fans on south-facing roof sections that receive 6-8 hours of direct sunlight daily. Installation should avoid areas shaded by trees, chimneys, or adjacent structures that could reduce solar panel efficiency. The brackets should position fans at least 3 feet from roof edges and 8 feet from any roof penetrations to ensure proper airflow patterns. For homes with complex roof lines, multiple smaller fans often provide better ventilation than single large units.
Environmental Factors Affecting Installation Success
Several environmental conditions influence bracket placement and fan performance. Roof pitch affects both solar panel angle and water drainage around the installation. Prevailing wind directions should guide fan placement to work with natural air currents rather than against them. Local weather patterns, including storm frequency and wind speeds, determine the required bracket strength and installation methods. Regular maintenance access should also influence placement decisions, ensuring safe serviceability throughout the fan’s operational life.
Installation Best Practices for Different Scenarios
- Steep roofs require additional safety equipment and may need reinforced brackets
- Metal roofing systems need specialized fasteners and sealing techniques
- Tile roofs often require custom mounting solutions and professional installation
- Older homes may need structural assessment before bracket installation
- Multi-story homes benefit from professional installation for safety reasons
- Coastal areas require corrosion-resistant bracket materials and fasteners
- High-wind regions need upgraded brackets rated for local wind speeds
Who Should Consider Solar Attic Fan Brackets
Homeowners in warm climates with high cooling costs benefit most from solar attic fan installations with quality brackets. Properties with south-facing roofs and minimal shading provide ideal conditions for solar-powered ventilation systems. DIY enthusiasts with roofing experience can often handle bracket installation, though professional installation ensures warranty compliance and optimal performance. Contractors specializing in energy efficiency upgrades frequently recommend these systems for clients seeking cost-effective cooling solutions.
Specific Situations Where Brackets Provide Maximum Value
Solar attic fan brackets provide exceptional value in specific scenarios. Homes with inadequate traditional ventilation, such as insufficient soffit or ridge vents, benefit significantly from supplemental solar ventilation. Properties with cathedral ceilings or finished attics often require active ventilation that solar fans provide. Older homes with sealed attics due to insulation upgrades frequently need mechanical ventilation to prevent moisture problems. Energy-conscious homeowners seeking to reduce cooling costs while maintaining comfort find solar fans particularly attractive.
Installation Process for Roof Mount Brackets
Installing roof mount solar attic fan brackets requires careful planning and proper tools including a drill, level, caulk gun, and safety equipment. The process begins with marking bracket locations using the fan manufacturer’s template, ensuring proper spacing and alignment. Installation involves drilling pilot holes, applying roofing sealant, positioning brackets, and securing with appropriate fasteners torqued to specifications. Most installations require 2-4 brackets per fan, depending on fan size and wind load requirements.
Essential Tools and Materials for Successful Installation
Successful bracket installation requires specific tools and materials for professional results. Essential tools include a cordless drill with bits, measuring tape, chalk line, level, and safety harness for steep roofs. Required materials typically include lag screws, roofing sealant, flashing material, and weatherproof wire nuts for electrical connections. Quality installations also use backing plates or reinforcement when attaching to areas without structural support. The total material cost for brackets and installation supplies typically ranges from $50-120 per fan installation.
Common Installation Challenges and Solutions
- Locating rafters requires stud finder or probing, with marking for accurate placement
- Roof pitch variations may need bracket adjustments or custom mounting solutions
- Existing roofing materials sometimes require specialized cutting or sealing techniques
- Weather delays can affect sealant curing and installation scheduling
- Electrical connections need weatherproof protection and proper wire management
- Access difficulties on steep roofs require professional equipment and experience
- Warranty requirements often mandate professional installation for coverage validity
Maintenance Requirements for Bracket Systems
Proper maintenance of solar attic fan bracket systems ensures long-term performance and prevents costly repairs. Regular inspection should occur twice yearly, checking for loose fasteners, damaged sealants, or corrosion around mounting points. The brackets themselves typically require minimal maintenance beyond occasional cleaning and fastener retightening. However, the surrounding roofing materials and sealants need periodic attention to maintain weather resistance and prevent leaks.
Seasonal Maintenance Tasks for Optimal Performance
Seasonal maintenance helps identify potential issues before they become expensive problems. Spring inspections should focus on winter damage, including ice dam effects and thermal expansion stress on fasteners. Summer maintenance involves cleaning solar panels and checking for proper fan operation during peak heat. Fall preparation includes removing debris, checking sealants before winter weather, and ensuring drainage around bracket installations. Winter monitoring helps identify ice-related issues that could affect bracket integrity or fan performance throughout the cold season.