Gable solar attic fan frame support is a reinforcement system that prevents structural damage by distributing the fan’s weight evenly across roof structures. This essential component typically consists of metal brackets, cross-braces, and mounting hardware that secure solar-powered ventilation fans to gable walls. The Gable Solar Attic Fan Frame Support works by transferring operational loads away from vulnerable wall sections, preventing sagging, cracking, and moisture infiltration that leads to costly repairs.
Understanding Gable Solar Attic Fans and Their Essential Benefits
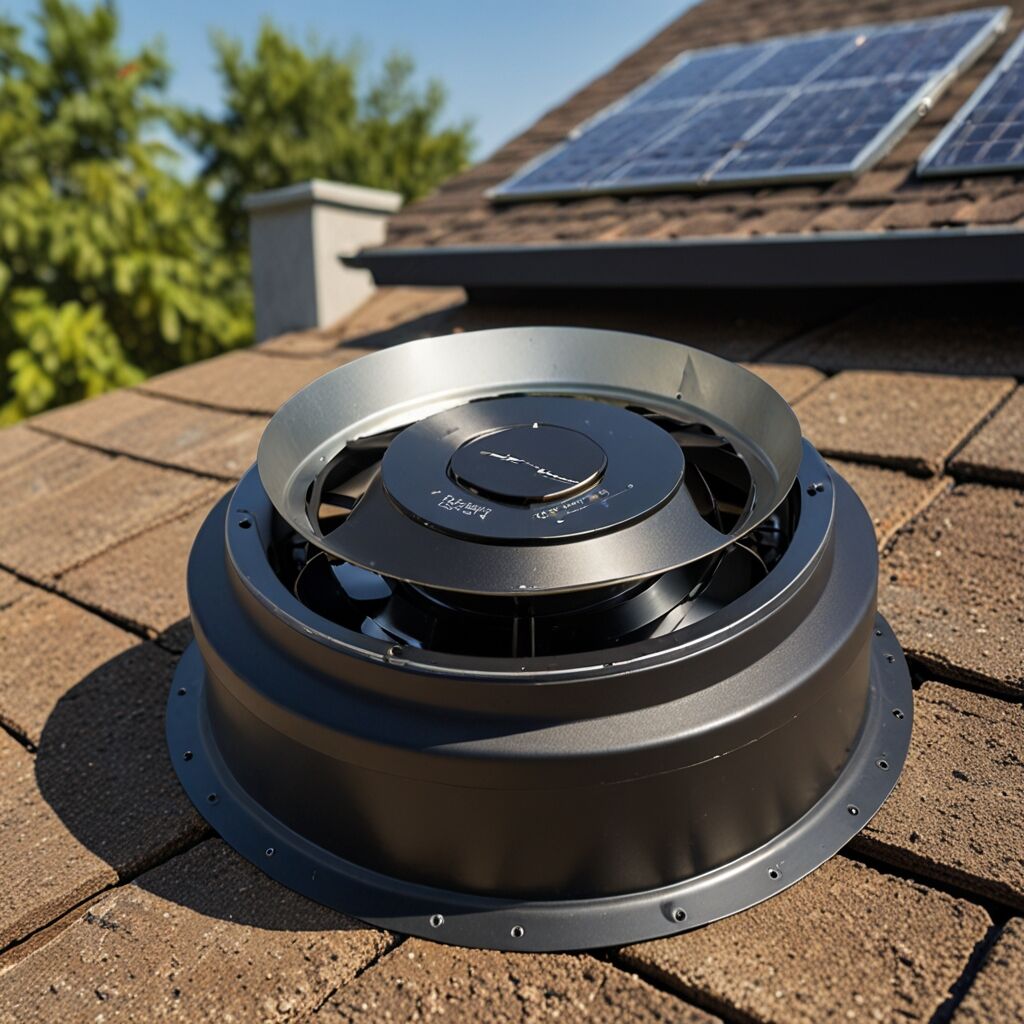
Gable solar attic fans are solar-powered ventilation devices mounted on the triangular wall section at the end of a peaked roof. These fans operate by drawing hot, stagnant air from attic spaces while pulling cooler outside air through soffit vents, creating continuous airflow. The primary benefits include reducing attic temperatures by 20-40 degrees Fahrenheit, preventing ice dam formation in winter, and extending roof material lifespan. Most residential gable fans handle 800-1,600 cubic feet per minute of airflow, making them suitable for attics ranging from 1,200 to 2,400 square feet depending on climate conditions.
Key Features of Modern Gable Solar Attic Fans
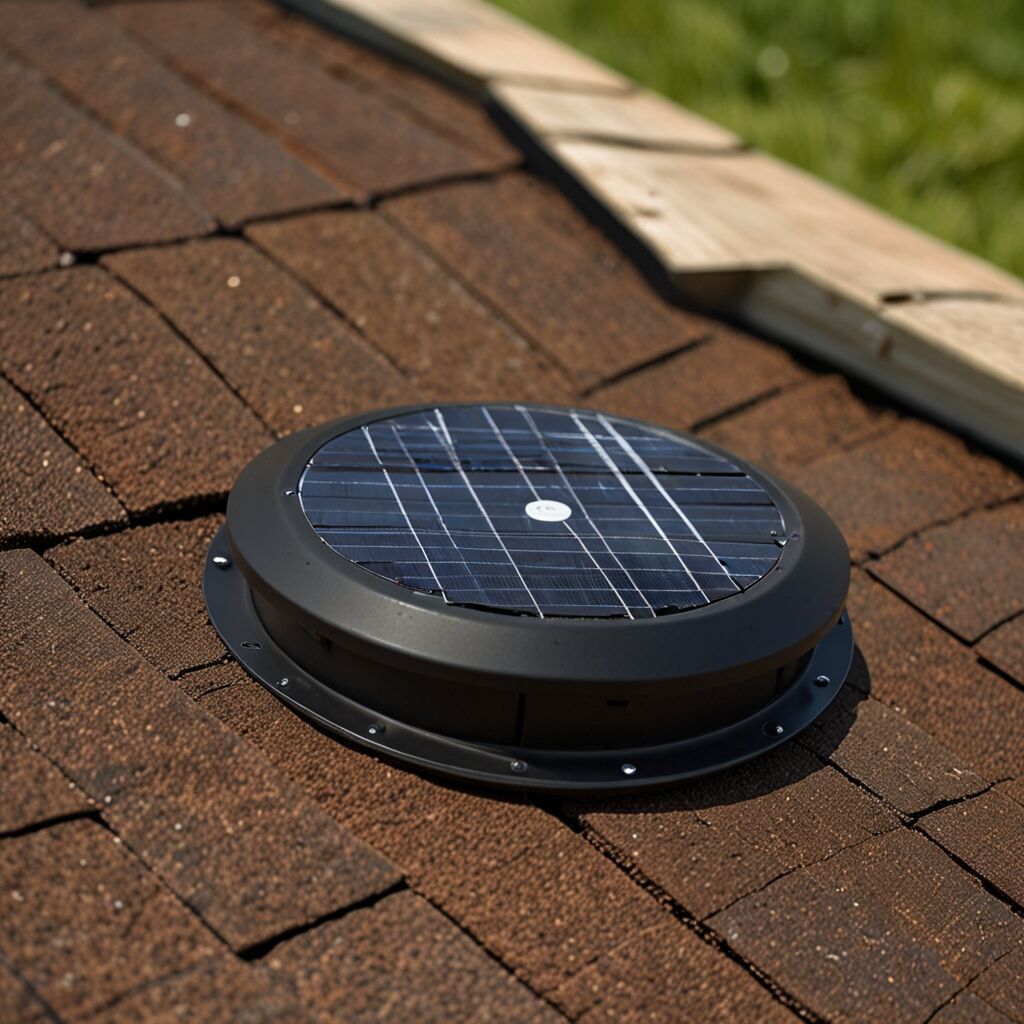
Modern gable solar attic fans include adjustable solar panels that tilt up to 45 degrees for optimal sun exposure throughout the day. The built-in thermostats typically activate the fan when attic temperatures reach 80-90 degrees Fahrenheit, while humidity sensors prevent operation during rain or high moisture conditions. Quality models feature brushless DC motors that operate quietly under 50 decibels and weatherproof housings rated for winds up to 75 mph. Installation typically requires cutting a 12-16 inch opening in the gable wall, depending on the fan model and manufacturer specifications.
How Gable Solar Attic Fans Work and Energy Efficiency Benefits
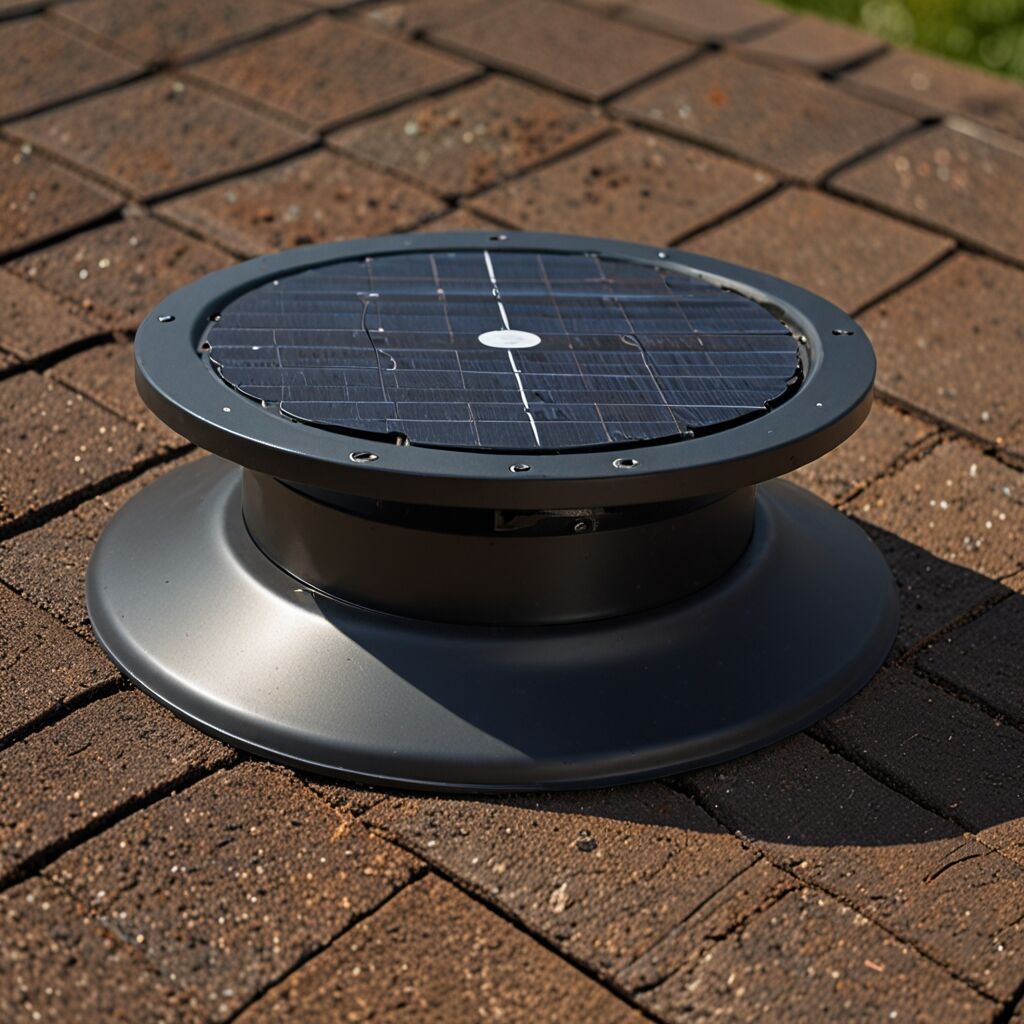
Gable solar attic fans work by converting sunlight into electrical energy through photovoltaic panels, which power a motor-driven exhaust fan. The process begins when solar panels generate 10-20 watts of power during peak sunlight hours, sufficient to move 800-1,400 cubic feet of air per minute. This continuous air exchange prevents heat buildup that forces air conditioning systems to work harder, potentially reducing cooling costs by 15-30% during summer months. The automated operation requires no electrical connections or ongoing energy costs, making these systems both environmentally friendly and economically beneficial.
Choosing the Right Gable Solar Attic Fan for Your Home
When selecting a gable solar attic fan, calculate your attic’s square footage and multiply by 0.7 cubic feet per minute to determine minimum airflow requirements. Consider your climate zone – homes in hot, humid areas benefit from higher-capacity fans with enhanced moisture sensors. Look for models with 10-15 year warranties and UL certification for safety compliance. Detailed comparison charts help identify the best options based on airflow ratings, solar panel efficiency, and installation requirements for your specific home configuration.
The Critical Role of Frame Support in Attic Ventilation Systems
Frame support systems are essential structural components that distribute the weight and operational forces of gable solar attic fans across multiple load-bearing points. Without proper frame support, fan vibrations can create stress concentrations that weaken gable walls, leading to cracks, gaps, and potential water infiltration. The limitations of inadequate support include reduced fan lifespan, increased noise levels, and structural damage that can cost thousands in repairs. Quality frame support typically consists of galvanized steel brackets, adjustable cross-braces, and vibration-dampening materials that ensure stable operation for 15-20 years.
Essential Components of Effective Frame Support Systems
Effective frame support systems include primary mounting brackets made from 16-gauge galvanized steel that attach directly to wall studs spaced 16 or 24 inches on center. Cross-bracing components typically span 24-36 inches to distribute loads evenly, while rubber isolators reduce vibration transmission to surrounding structures. Installation requires locating wall studs using a stud finder, marking mounting points level and plumb, and securing brackets with 3-inch structural screws rated for exterior use. The complete system should support at least 50 pounds static weight plus dynamic loads from fan operation and wind resistance.
Identifying Signs of Structural Damage in Your Attic
Signs of structural damage in attics include sagging rafters that deviate more than 1/4 inch from straight lines, visible cracks in wall plates or ceiling joists, and water stains indicating roof leaks or condensation problems. The benefits of early detection include preventing minor issues from becoming major repairs, maintaining home value, and ensuring occupant safety. Common damage indicators also include loose or missing insulation, pest infestations evidenced by droppings or chewed materials, and humidity levels consistently above 60% that promote mold growth and wood rot.
When Professional Inspection is Necessary
Professional inspection becomes necessary when you notice multiple damage indicators, structural elements that appear compromised, or problems beyond basic DIY repair capabilities. The cost of professional structural assessments typically ranges from $300-800 depending on home size and complexity, while major repairs can cost $2,000-15,000 if damage is extensive. Limitations of DIY assessment include inability to evaluate load-bearing capacity, hidden damage detection, and code compliance requirements that affect insurance coverage and resale value.
Step-by-Step Installation Guide for Gable Solar Attic Fan Frame Support
Installing gable solar attic fan frame support typically takes 3-5 hours and requires basic carpentry skills, power tools, and safety equipment including hard hat, safety glasses, and work gloves. The installation process begins by measuring the fan dimensions and marking the mounting location on the gable wall, ensuring the opening is centered between studs and at least 12 inches from roof lines. Essential tools include a circular saw, drill with bits, level, stud finder, and measuring tape, while materials cost typically ranges from $150-400 for frame support components depending on fan size and wall construction type.
Pre-Installation Planning and Safety Considerations
Pre-installation planning requires verifying local building code requirements, obtaining necessary permits that typically cost $50-150, and checking utility line locations before cutting into walls. The process involves assessing wall construction type – frame, masonry, or composite materials each require different mounting approaches and hardware specifications. Safety limitations include working at heights, potential electrical hazard exposure, and structural modifications that could affect load distribution. Weather conditions should be favorable with no precipitation forecast for 24-48 hours after installation to prevent moisture damage during the open-wall phase.
Required Tools and Materials for Frame Support Installation
- Circular saw with fine-tooth blade for clean cuts through siding and sheathing materials
- Power drill with various bit sizes including 1/8-inch pilot holes and 3/16-inch clearance holes
- 4-foot level for ensuring mounting brackets are properly aligned and plumb
- Stud finder capable of detecting studs through siding and identifying metal versus wood framing
- Measuring tape, pencil, and square for accurate layout and marking of mounting points
- Safety equipment including hard hat, safety glasses, and work gloves for protection
- Galvanized mounting brackets, cross-braces, and structural screws rated for exterior applications
When to Consult Professionals for Attic Improvement Projects
Homeowners should consult professionals when structural modifications involve load-bearing elements, electrical connections are required, or local codes mandate licensed installation. Professional consultation becomes essential for homes with complex rooflines, historic properties with preservation requirements, or situations where DIY attempts could void insurance coverage. The benefits of professional installation include warranty protection, code compliance assurance, and completion times typically 50% faster than DIY approaches. However, limitations include higher costs ranging from $800-2,500 for complete installation versus $200-600 for DIY approaches, and scheduling delays during peak construction seasons.
Cost-Benefit Analysis of Professional vs DIY Installation
Professional installation costs typically include labor charges of $75-125 per hour, permit acquisition, and warranty coverage that protects against defects and installation errors. DIY installation limitations include potential code violations, voided manufacturer warranties if installation errors occur, and liability for structural damage caused by improper mounting techniques. The process of choosing between approaches should consider skill level, available time, tool ownership, and risk tolerance for potential complications that could increase overall project costs significantly.
Where to Find Quality Gable Solar Attic Fan Frame Support Solutions
Quality gable solar attic fan frame support components are available through home improvement retailers like Home Depot and Lowe’s, specialized HVAC suppliers, and online marketplaces that offer detailed specifications and customer reviews. Trusted manufacturers include Broan-NuTone, Remington Solar, and Master Flow, which provide comprehensive installation instructions and technical support. Detailed product reviews and comparisons help identify the most suitable options based on home construction type, climate conditions, and budget considerations ranging from basic kits at $150 to premium systems costing $500-800.
Evaluating Supplier Options and Product Quality
When evaluating suppliers, look for companies that offer technical support, detailed installation documentation, and warranty coverage of at least 10 years on structural components. Quality indicators include UL certification, corrosion-resistant coatings on metal components, and compatibility with multiple fan models and manufacturers. The benefits of choosing established suppliers include readily available replacement parts, consistent product quality, and customer service support for troubleshooting installation challenges that may arise during or after the project completion.
Key Features to Compare When Selecting Frame Support Systems
- Load capacity ratings that exceed fan weight by at least 200% for safety margins
- Corrosion resistance through galvanized or powder-coated finishes rated for marine environments
- Adjustability features that accommodate various wall thicknesses and construction types
- Vibration dampening materials that reduce noise transmission and structural stress
- Installation hardware quality including stainless steel or galvanized fasteners
- Manufacturer warranty coverage for both materials and installation defects
- Compatibility with multiple fan brands and models for future upgrade flexibility
Long-Term Benefits and Return on Investment for Frame Support Systems
Installing proper frame support for gable solar attic fans provides long-term benefits including extended equipment lifespan of 15-20 years versus 8-12 years without adequate support, reduced maintenance requirements, and prevention of structural damage that could cost $5,000-20,000 in repairs. The return on investment typically ranges from 150-300% over the system’s lifespan through energy savings, reduced HVAC maintenance, and preservation of home value. However, limitations include upfront installation costs and the requirement for periodic inspection every 3-5 years to ensure mounting integrity and identify potential issues before they become problematic.
Maximizing Performance and Longevity of Your Investment
Maximizing performance requires annual inspection of mounting hardware, cleaning solar panels quarterly to maintain efficiency, and monitoring fan operation during different weather conditions. The process of maintaining optimal performance includes checking for loose fasteners, verifying proper airflow by measuring temperature differentials, and ensuring vegetation doesn’t obstruct solar panel exposure. Regular maintenance typically costs $50-150 annually but can prevent major repairs and ensure the system continues providing energy savings and structural protection throughout its operational lifespan.